eBee Technology has always recommended that electricians or HVAC engineers install WiFi thermostats because this can ensure the stable operation of the HVAC system and avoid safety accidents. However, there are always DIY users who want to install the WiFi thermostat by themselves.
How to install the WiFi thermostat? We provide a guide here.
What do We Need to Prepare Before Installing the WiFi Thermostat
Effective preparation can help the work to be completed smoothly. There are mainly the following parts that need to be confirmed.
Confirm Your HVAC System
We must first confirm the family’s HVAC system type so that we can choose the correct thermostat model, wiring method, and installation method.
Currently commonly used HVAC systems include these types:
- Underfloor Water Heating System: the hot water pipes laid on the floor reasonably have a water distribution valve to control the hot water supply
- Boiler Heating System: the boiler burns hot water to meet household heating needs
- Electric Heating Cable/Film System: the heating cable and heating film are energized, and the heat is transmitted in the form of radiation
- Central Air Conditioning System: central air conditioner with cooling/heating function and fan function
- Air Source Heat Pump System: transfer the heat in the air to the heat collection medium to achieve temperature regulation
In North America, air-source heat pump systems are commonly used. In the region near the equator, there are more users of central air-conditioning. As for users in Europe and the Middle East, boiler heating, electric heating, and hot water heating are used. We can judge the type through the hardware facilities of the system.
Read the Instructions Carefully
Usually, the thermostat will have a user manual, whether you install it yourself or ask an engineer to install the WiFi thermostat, you need to read this manual carefully in advance. Through the manual, we have to confirm the following.
- The WiFi thermostat accessories listed in the manual are all available
- Preview installation steps and points
- Clarify that the power requirements of the WiFi thermostat are correct
- Prepare the tools needed for installation
Then, let’s start!
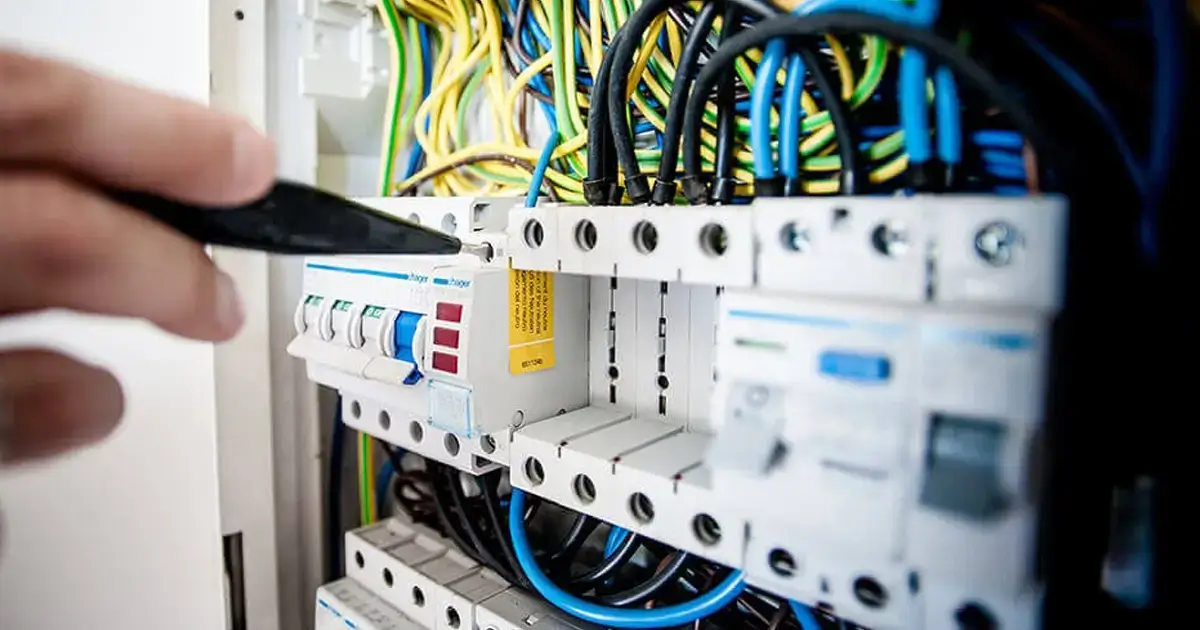
#Step 1 Turn Off the Home Power Breaker and the Breaker of the HVAC System
There may be multiple breakers in the home and they are installed in different places. In order to avoid accidents, it is very important to confirm that all of them are turned off. Please pay extra attention!
#Step 2 Remove the Old Thermostat Faceplate
When removing the faceplate, try not to force it. The old faceplate may be fixed with other fasteners such as buckles, screws, etc., just loosen these fasteners one by one.
After the faceplate is removed, the internal structure will leak out, including the wiring method inside. At this time, we use a mobile phone to take a picture of this wiring method as a reminder, and then go to the next step.
#Step 3 Mark the Function of Each Wire (Use Tape and Sticky Paper)
Write the function symbol of each wire on the sticker, and then paste it on the wire. Common function symbols can be referred to as follows.
- L – Live Wire
- N – Neutral Wire
- NC – Normally Close Valve
- NO – Normally Open Valve
- Volt Free – Dry Contact for Boiler
- OUTPUT(<16A) – Heating Load
- Cooling Valve – the Cooling Valve of Heating Pipe
- Heating Valve – the Heating Valve of Heating Pipe
- Fan or COM – the Live Wire for Fan
- High – the High Speed of Fan
- Mid – the Middle Speed of Fan
- C Wire – Power for advanced functions such as the thermostat’s screen and circuit board, not all thermostats have
If you accidentally mess up the wires, you can refer to the picture you just took to distinguish according to the colors of different wires.
#Step 4 Remove the Old Backplate
Similarly, the backplate was fixed with screws, just loosen the screws carefully. Unplug the wire on the terminal to complete this step.
#Step 5 Install the New Thermostat Backplate
We need to mark the screw holes of the new backplate with a marker on the wall first, then drill holes with an electric drill, and fasten the backplate with screws.
#Step 6 Connect the Wires According to the Marks Made at Step 3
Identify the function of each wire, and then connect it. The wires must be fixed well to prevent them from falling off during future use. For a detailed wiring method introduction, we have specially written a guide: Wiring the WiFi Thermostat.
Then go to step 7.
#Step 7 Install the New Thermostat Faceplate
Each thermostat is specially designed with a fastening position for the faceplate, just buckle it well.
#Step 8 Turn On the Power Breaker and the Breaker of the HVAC System
Just turn on what we’ve turned off at step 1, it’s so easy~
#Step 9 Set the Thermostat (Configure WiFi Function, Programming Function, etc.)
Turn on the WiFi thermostat. After the initial wake-up, the thermostat’s screen will light up, indicating that everything is operating well. Then, we go to the Google Store or Apple Store to download and install the phone/tablet app.
Follow the instructions of the thermostat to complete the configuration of the thermostat.
Finally, we completed the work of installing the WiFi thermostat by ourselves. Cheers~