Enhancing Your T-Deck/ T-Deck Plus with Offline Maps: A Step-by-Step Guide
The T-Deck, powered by Meshtastic, is a versatile and powerful communication tool designed for off-grid and decentralized networking. One of its standout features is the ability to display maps directly on the device, even without an internet connection. This functionality is especially useful for outdoor enthusiasts, emergency responders, and hobbyists who rely on location awareness in remote areas. In this guide, we’ll walk you through the process of downloading and installing map tiles for your T-Deck.
Why Offline Maps Matter
In environments where internet access is limited or unavailable, having pre-loaded maps ensures that you can still navigate, track nodes, and visualize your Meshtastic network. The T-Deck supports custom map tiles, which can be downloaded and stored on a microSD card. This allows you to access detailed regional maps anytime, anywhere.
Preparing for Map Download
Before you begin, make sure you have the following:
- A computer with Python installed
- A microSD card (formatted to FAT32)
- The
tdeck-mapstool (available on GitHub)
Step 1: Install Required Tools
To generate map tiles, you’ll need to use the tdeck-maps Python script. Start by installing the necessary dependencies:
python3 -m pip install pillow requests
Next, clone the repository:
git clone https://github.com/JustDr00py/tdeck-maps.git
cd tdeck-maps
Step 2: Download Map Tiles
Once the tools are set up, you can proceed to download map tiles for your desired location. For example, to download maps for St. Louis, Missouri, use the following command:
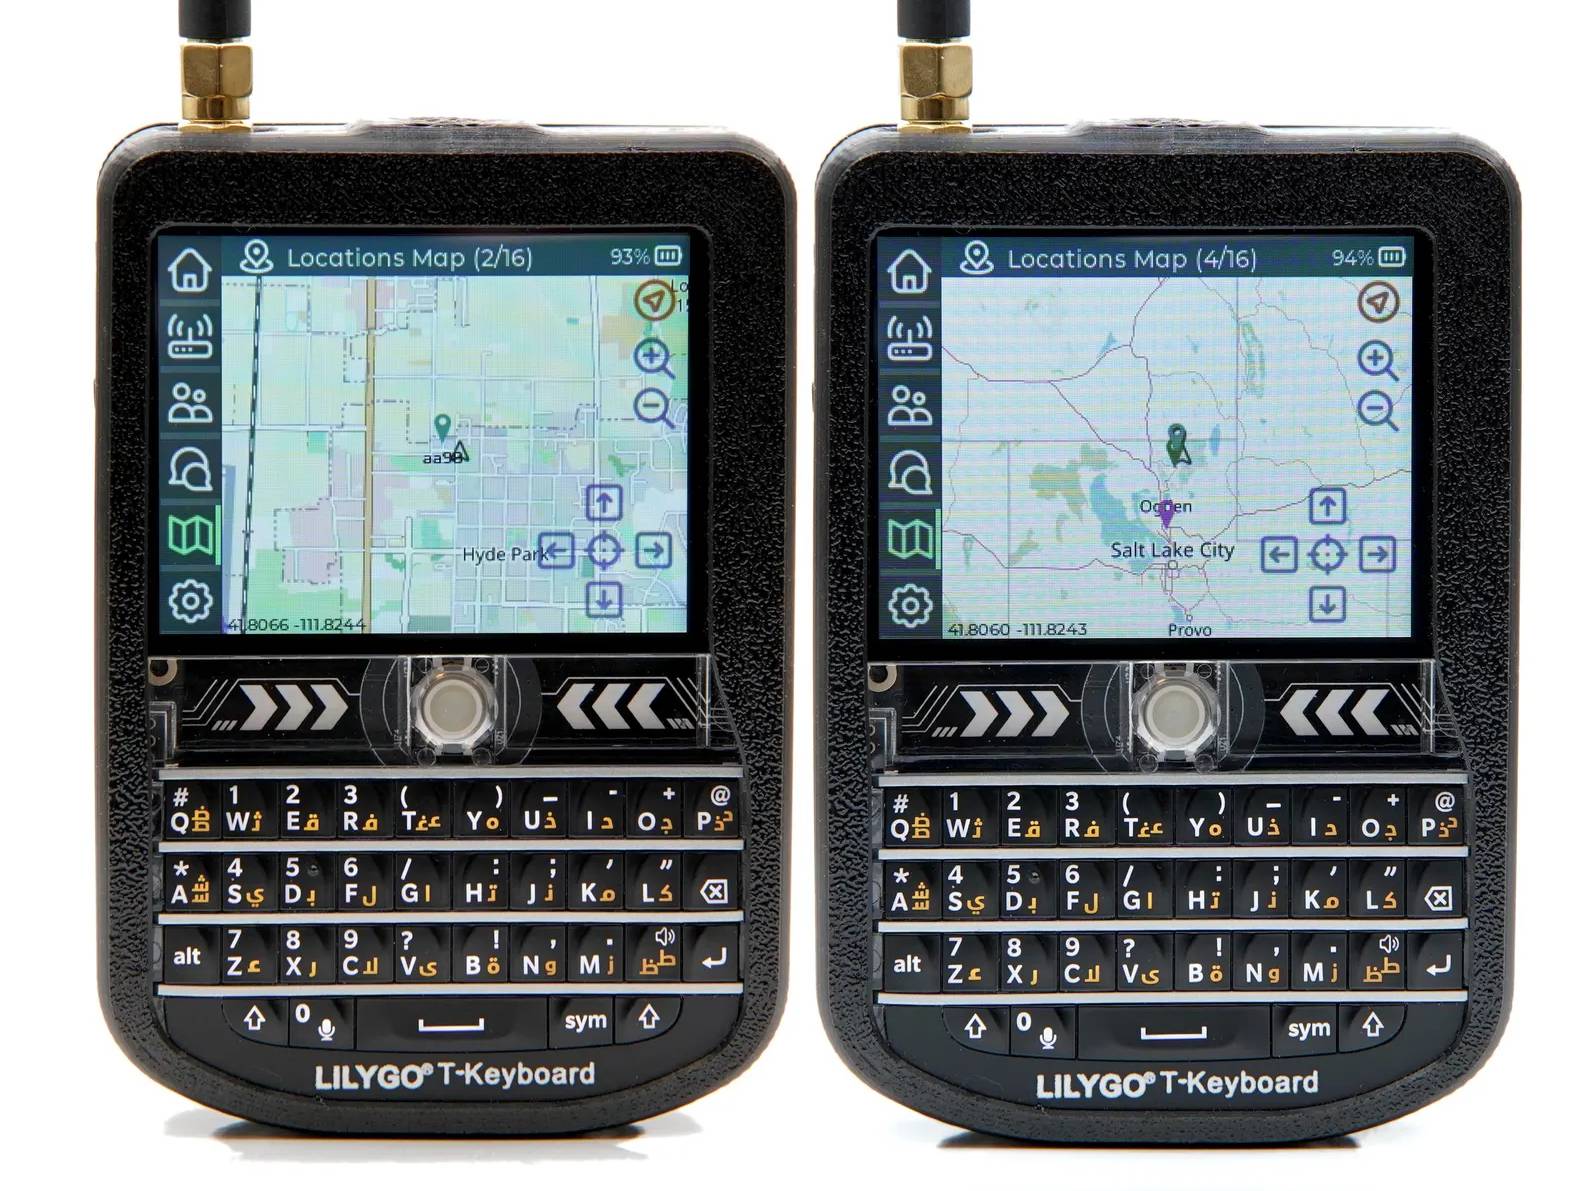
python3 meshtastic_tiles.py --city "Salt Lake City, Utah" --min-zoom 8 --max-zoom 12
This command will:
- Identify the geographic coordinates of the specified city.
- Generate and download map tiles for zoom levels 8 to 12.
- Save the tiles in a folder named
tiles, along with ametadata.jsonfile.
Note: Higher zoom levels provide more detail but require more storage space. If you’re limited on space, consider using a narrower zoom range (e.g., 8–10).
Step 3: Transfer Tiles to microSD Card
After downloading the tiles, format your microSD card as FAT32. Then:
- Create a folder named
mapson the microSD card. - Copy the downloaded
tilesfolder into themapsdirectory. - Rename the
tilesfolder to a descriptive name (e.g.,osmfor OpenStreetMap data).
Step 4: Insert microSD Card into T-Deck
Once the map data is copied, safely eject the microSD card from your computer and insert it into the T-Deck’s microSD card slot. Power on the device, and navigate to the Maps section in the Meshtastic interface. You should now see your downloaded maps available for use.
Troubleshooting Tips
- If the map doesn’t display, ensure the microSD card is properly formatted and the tiles are placed in the
mapsfolder. - For larger regions, consider downloading pre-rendered map packs from the Meshtastic community to save time.
Ready to enhance your T-Deck with detailed offline maps? For product inquiries or technical support, reach out to our team at [email protected].
eBee

We are the professional distributor of electronic components, providing a large variety of products to save you a lot of time, effort, and cost with our efficient self-customized service, careful order preparation and fast delivery service.


